Manage & Add Groups
Groups gives your organization more granular control over Privatise ROC settings. You can setup multiple ROCs, or connect multiple groups to the same ROC but with different settings.
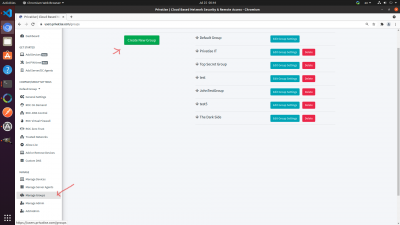
To add a group, you'll want to go to Manage Groups under “Manage” in the left sidebar, and then add a new group as seen in the image below:
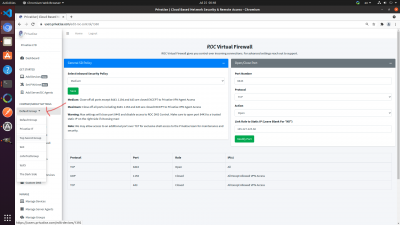
Once the group is added, you'll be able to manage that group's specific settings by changing your current group on the left sidebar. Click on “Default Group” (or whatever group is currently listed), with the carrot/arrow next to it and you'll see a drop down of all groups. Click on the group that you would now like to manage to switch between groups.
As an example, see the image below:
Adding or Removing Devices from the New Group
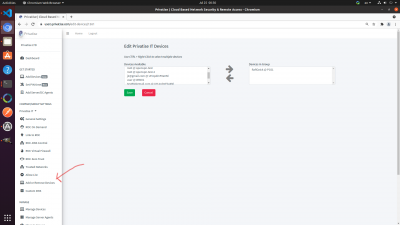
To add or remove devices from the new group, you'll want to select the group you want to edit as explained above. Then go to “Add Or Remove Devices” in the menu on the left as seen in the image below:
Once you do that, you'll be able to add or remove devices to that group. Please note that to add a device to a group, it must first be removed from any group that isn't the Default Group.
Sharing a ROC Betweens Multiple Groups
You can create multiple ROCs in different locations. However, in many instances you'll want to share the same ROC across multiple groups. The reason is for:
1. ROC ZTNA. You may want to set up Zero Trust permissions inside of a ROC for an entire group, not only a specific device or server.
2. Different general settings. You may want to have different settings or general permissions on a group of devices on the same ROC.
To put a new group on the same ROC as another group, and in essence create a “subgroup”. All you have to do is go to “Link to ROC” in the left sidebar on your new group. You'll be able to link the group to an existing ROC there.


