Continuum Deployment Guide
Information You Will Need
Download link for the executable here.
Your license code. Once logged into your partner account, you can get it at this link.
Create Deployment Job
Within the Continuum Portal:
1. Go to the Devices > Computers Section. 2. Use the tools available to select the devices to which you wish to deploy (Consider creating a group) 3. Click on Run from the menu:
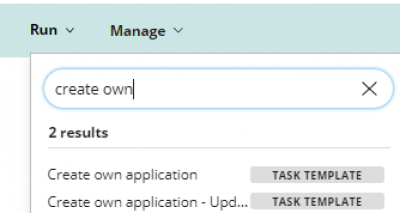
4. In the list find the Create own application – updated option:
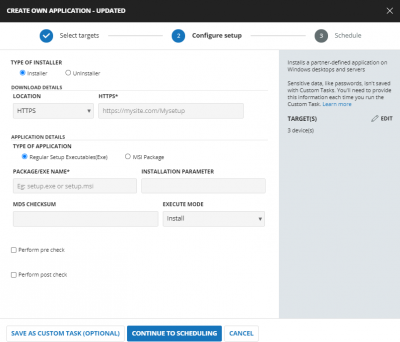
In the form you will need to poplulate the following information:
1. Type of installer: Installer
2. Location: HTTPS
3. HTTPS*: https://privatise-main-storage.s3.us-east-2.amazonaws.com/binaries/RMM/
4. Type of Application – Regular setup executables(Exe)
5. Package name: PrivatiseInstaller.exe
6. Installation Parameter - PARTNERID=LICENSEKEY TEAMID=“Organization” /norestart /S (Omit the /norestart if you wish the device to reboot after installation.)
7. Replace LICENSEKEY with your license key obtained earlier and “Organisation” with the Name of the organisation as displayed in the Privatise Manage Companies page. If you didn't first create the organization in the Partner Dashboard, deploying it here will automatically create a new company with the new organization name in your Partner Dashboard.
If this is the first deployment for this client you may wish to save this as a custom template for future deployments to this client.
Click on Continue to Scheduling and choose how you wish the agent to be deployed.
Using the above settings will mean the end user will need to either manually start the agent to use it the first time or they will need to reboot to activate.


