Managing ROC-DNS
Access Privatise ROC-DNS
To get access to ROC-DNS, you must provision a ROC and then login to the Threat Detection dashboard from the ROC-DNS Control menu page.
Once on the ROC-DNS Control page, to login:
1. Click on the eye to show the password.
2. Copy the password. Make sure to disable your password manager if you have one, as it might overwrite this password and give you the wrong one.
3. Click the button where it says “Access ROC-DNS Dashboard”
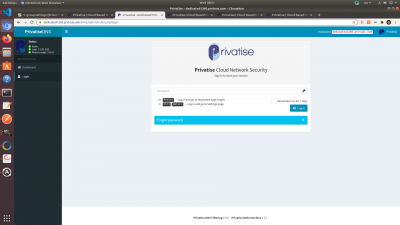
You will now be brought to the Privatise DNS Threat Analysis Dashboard login page. Enter the password you copied above and login.
Our enterprise level ROC-DNS is based on state of the art threat detection to ensure that your endpoints are protected. It uses its threat algorithm analysis to block malicious or suspicious domains. It is made up of a combination of opensource and proprietary solutions.
Getting Started with DNS Management
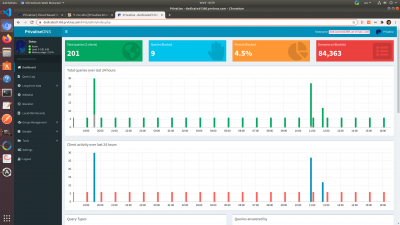
Once you login, you will see a quick overview of the DNS dashboard. Here you'll see the number of connected clients, queries blocked, and the number of the domains on the blocklist. You'll also see client and query activity over the last 24 hours.
Query Logging
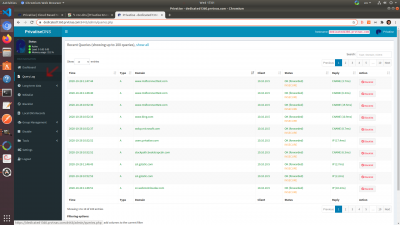
You will be able to see specific queries and break it down to the device level.
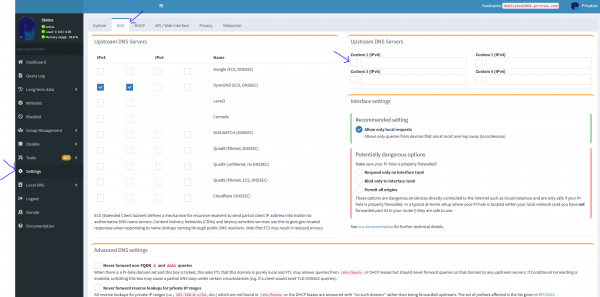
Some of your company clients might ask for query logging to be disabled for privacy reasons. You can do that under settings.
Allow & Disallow / Whitelisting & Blacklisting
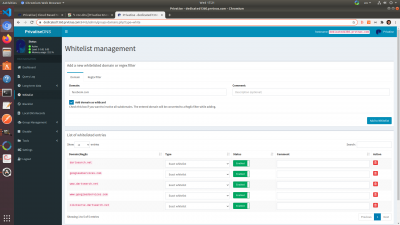
You can whitelist and blacklist domains directly from the dashboard. They work the same way, with the only difference being that whitelisting allows domains through the filter, and blacklist rejects domains through the filter.
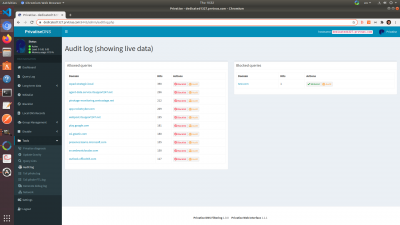
Whitelisting is useful if you see in the Audit Log that a site was blocked that you don't want to block. Blacklisting is useful for banning specific websites for whatever reason.
You can whitelist or blacklist a domain by doing the following:
Under whitelisting or blacklisting, enter the domain you want to whitelist or blacklist.
Make sure to add domain as wildcard
Then click the “Add to whitelist” or “Add to blacklist” button depending on which one you are doing.
Audit Logs, Query Lists, Debugging
You will be able to create audit logs, query lists, and do debugging under “tools” menu item on the sidebar.
This is where you can see queries, audit blocked and permitted domains, and troubleshoot any issues.
DNS Filtering when using Active Directory on LAN
You can use Privatise DNS filtering in conjunction with your Active Directory on the local network. Please see our guide to Remote Access for more information.
Custom Fully Qualified Domain Names
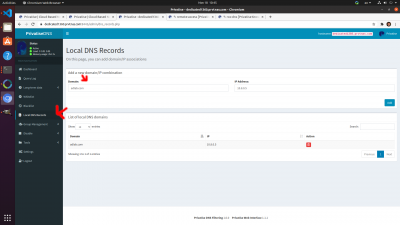
You can attach Fully Qualified Domain Names to an individual IP if it's static. To do so:
1. Go to Local DNS Records
2. Add a Fully Qualified Domain Name on the left, and static IP of the Privatise agent you want to connect to.
3. Alternatively, you can add an IP address of a general local domain, for example of an office router that is port forwarded to a server.
Category Filtering
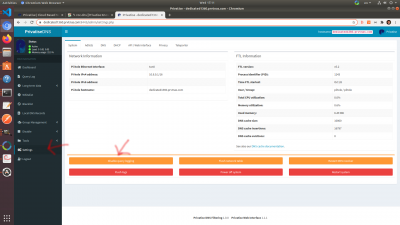
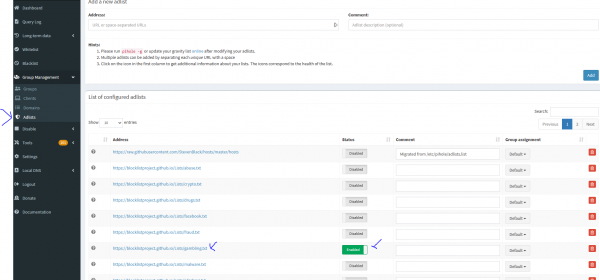
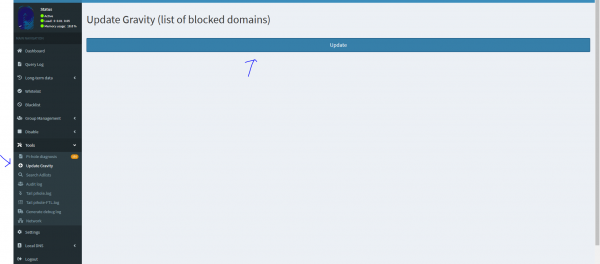
Category Filtering is based off of open source lists. You can enable category filtering under Groups → Adlists. You simply enable the category then go to tools → update gravity and click the update button to apply the new policies.
Enabling a new category:
Applying the new policy:
